Wednesday, December 15, 2010

THE MOST WONDERFUL TIME OF THE YEAR

Below is my original Woolworth's Nativity Scene (what is left of it) from my childhood. I can remember my brother and myself playing with the paper mache figures, pulling the springy horns of the cow and pulling the shepard's staff. I only have one wise man but the Joseph, Mary and Jesus are in pretty good shape along with the original star. I think there was an angel but she has long vanished. I love the vintage look under the glass cake dome. I cut strips from an old magazine for the "hay".


My mother made each one of my children a beautiful needlepoint stocking when they were born. I know they took her a long time to complete, but what a TREASURE for them to have forever. (Well, I guess I have them....but they're still a treasure!) The two older kids always kid Ben because his is SO much larger than theirs. My mom forgot that the stockings had names on them when she was making his, so she had to add his name to the top.......so he gets about 3 more inches of goodies in his stocking! He IS the baby! Be sure to notice the paper circles garland my daughter made for me last year. You just cut out circles, stitch them up and presto and very clever garland.


I made this Santa about 15 years ago from a kit. You had to use your own fabric for his coat and under garments. I had some leftover brown fur from a bear Halloween costume which became Santa's coat. I trimmed the coat with an old (probably 20 yr old) rabbit fur coat that belonged to me. I was getting tired of ole Santa, but everyone kept asking where he was, so he's making an appearance again this year.


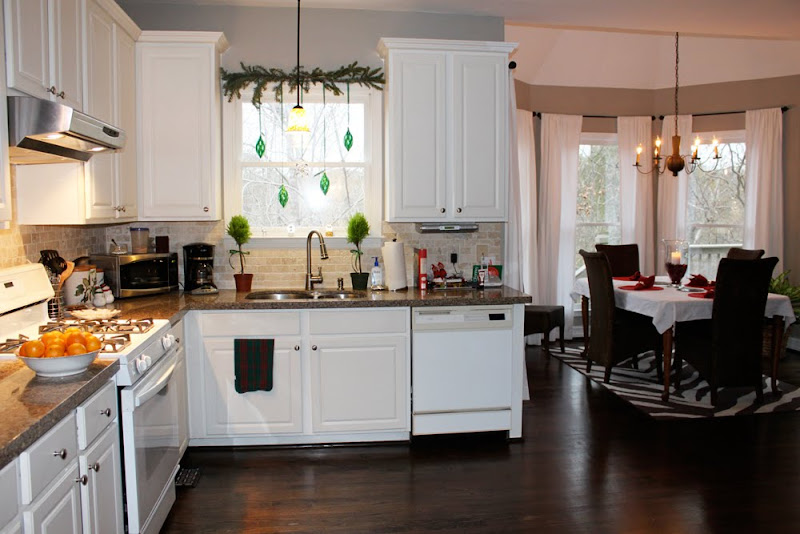
It's sleeting outside right now, so it really feels like Christmas. This view is from the kitchen looking into the family room.


The dining room with new hardwood floors this year. One of these days I'll reupholster the chairs when I find something perfect on sale. And I'm enjoying the silver reindeer.


.....and the kitchen ready to make some Christmas cookies.


Tuesday, December 14, 2010

HAPPY BIRDIES

The temp dropped down into the low double digits last night in Atlanta and with the wind chill, it felt like 1 degree!!! I refilled my birdfeeder outside of my kitchen window yesterday and I love watching the birds fly around and feed. We have a few cardinal couples, a few bluebird couples, blue jays, chickadees and tufted titmouse and purple finches. And a very fat squirrel who hangs upside down and feeds himself from my squirrel-proof birdfeeder!


Sunday, December 12, 2010

FRENCH TOAST

This morning I made French Toast with some fresh eggs that my friend, Lisa, had given me. She has eight laying hens in her backyard and gathers about four eggs every morning, she told me. She only has to purchase eggs from the grocery store a couple of time a YEAR! We all should gather our own eggs in the morning..................forget the homeowner's association laws! Did I mention, she also makes her own bread? I used "Nature's Own" this morning. It sounds natural, but not at natural as Lisa's. Now............if only I could get her to give me some of her bread! Thanks for the eggs, Lisa. They were delicious!


Thursday, December 9, 2010

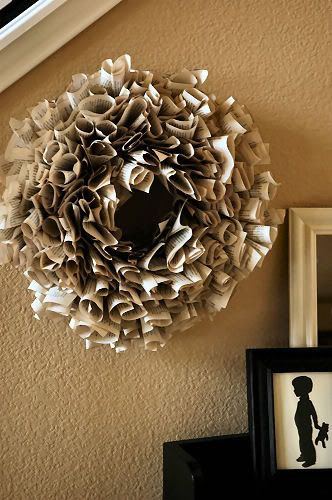
LAST MINUTE WREATH


Book Page Wreath Tutorial
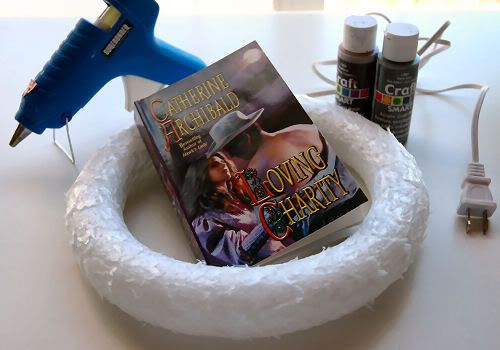
Supplies:

  • 10″ foam wreath ($1 at Dollar Tree)
  • Paperback novel ($1 at Dollar Tree – depending on the length of the book, you may need two)
  • Brown and/or gray craft paint
  • Glue gun & glue sticks
  • Small strip of ribbon
  • A few paper towels
  • A few straight pins (optional)

1. Assemble your cast of characters. I felt slightly guilty about purchasing an author’s work from the Dollar Tree for the sole purpose of ripping up. I read a few pages of Loving Charity just to make sure I wasn’t about to destroy a literary classic; let me assure you that I wasn’t.

You could definitely use vintage books, magazines or sheet music for this project or even select a book off of your own bookshelf that you don’t think you’ll read again.

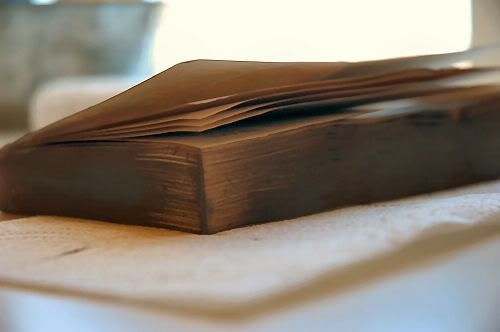
2. Using the paper towels, I applied the brown paint to the edges of the book. I simply squirted some paint onto the towel and wiped it on the book. I painted the brown first and then applied a bit of gray. This will give your book pages a vintage look. To be honest, two colors aren’t completely necessary, so you can use just gray or just brown if you would like.

Lay the book on a clean paper towel for about 5 or 10 minutes to let the paint dry.

3. Cut or tear a page out of the book and roll it in a method of your choosing. I put together a video tutorial to show you some different ways to roll the page if you are interested in seeing how I did it. The main thing to remember is that you want to roll the paper and not actually fold or crease it.


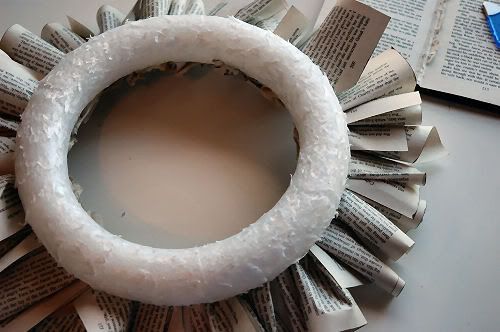
4. After rolling the page, apply some glue at the end of the roll and glue it to the wreath. Make sure that the painted edges are facing up.

You will do this layer all the way around the wreath. When you have finished the full circle, flip the wreath over. That layer will become the bottom. If it won’t lay flat, put something heavy on top of it to flatten it out for a few minutes.

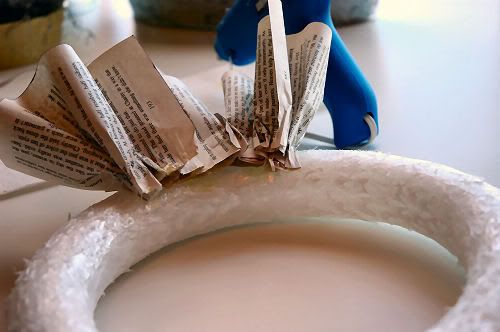
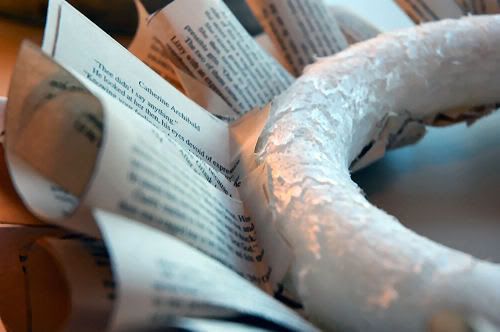
5. Continue rolling pages for your wreath. You will now fold a little tab on the bottom edge and apply glue only to that tab. Work your way from the bottom of the wreath up to the top, finishing one layer before moving to the next.

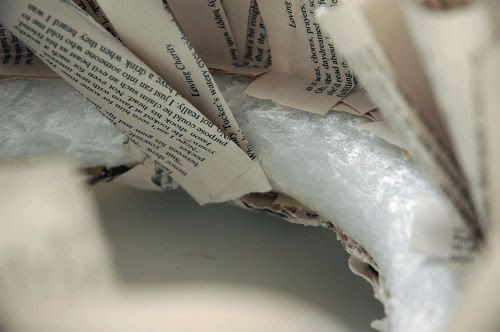
6. Once you get to the inside of the wreath, roll the paper and apply glue to the edge much like you did with the bottom layer. When you glue it on, the pages will be shorter than the wreath of the wreath. That’s okay.

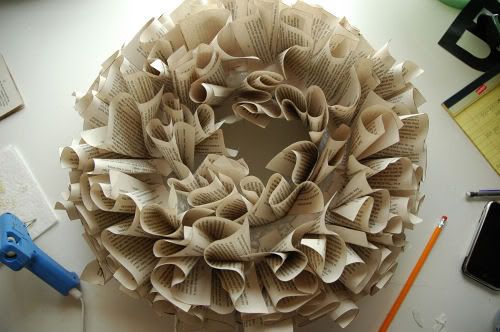
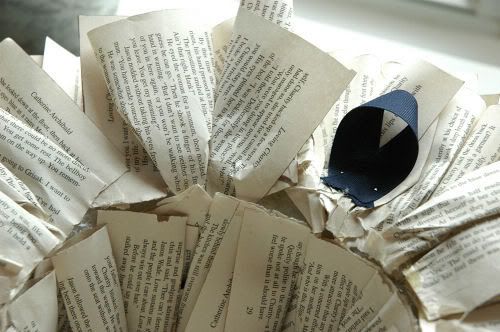
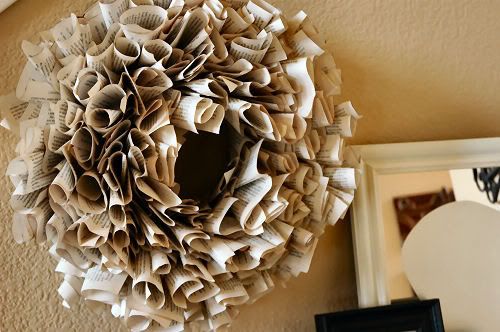
7. At this point, your wreath will be mostly done, but there will be some sections you need to fill in. It should look roughly like this.

To fill in your spaces, you’ll simply roll a page, apply glue to the ends, and just stick it in the wreath. The filler pages don’t necessarily need to touch the styrofoam wreath; they can stick to the pages already glued to the wreath if need be. Use the filler pages to fill in holes and add some height and visual interest to your wreath.

8. After I was finished filling in, I flip your wreath over and glue your scrap of ribbon on the back to serve as a hanger. I stuck a few straight pins in it to make sure it held tight to the wreath, but that’s purely optional if you glue it on well.

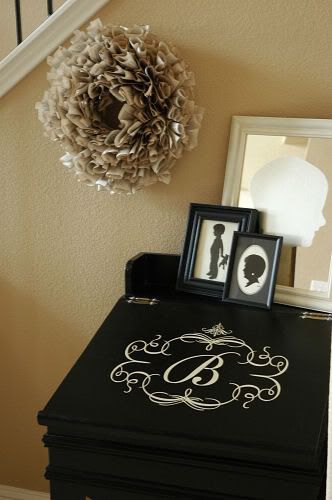
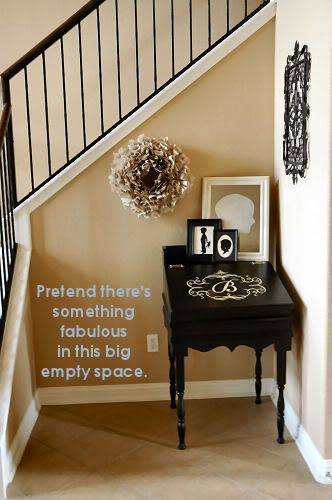
All that’s left to do now is to find a spot to hang your new creation!

Who says that books can only be used to decorate bookshelves and tabletops? Try one on your wall!

I found this on the website: livingwithlindsay

COLOR OF THE YEAR - 2011

News flash! The color of the year for 2011 is Honeysuckle by Pantone, a very vivid pink! It is a beautiful color, and I love color, but I don't have anything in my house that closely resembles this color. Turquoise was the color for 2010, and I painted my laundry room a Tiffany Blue. Look out for this pink in fashion, home decor and art. Which, by the way, I need to get back to doing! How will you use this pink for 2011?


Wednesday, December 8, 2010

NOT A CREATURE WAS STIRRING, NOT EVEN A .......

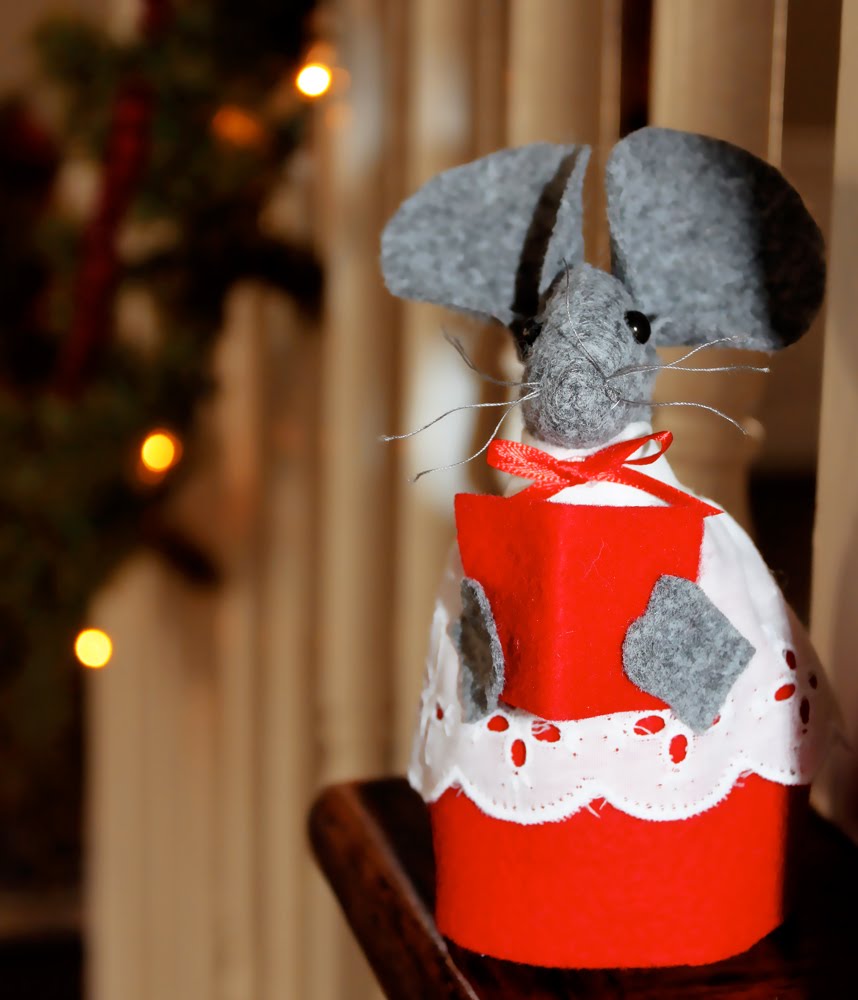
a Choir Mouse. When we lived in Houston (23 years ago) one of my neighbors made these cute little mice and lined them up on her stairs. She gave me the pattern along with a 1/4" x 1/4" photo that I have kept all this time with the intention of making my own mice. I was reminded of the little pattern last week when we had an intruder at the library who looked suspiciously like the mouse below..........sans the choir robe!


LIBRARY OPEN HOUSE WITH SANTA