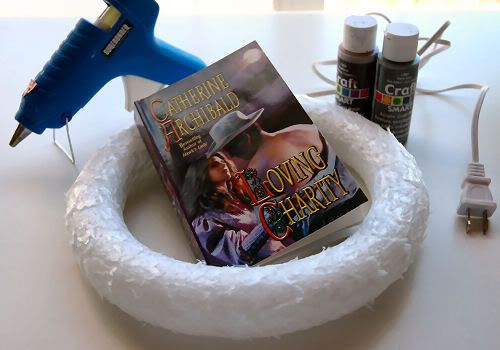
- 10″ foam wreath ($1 at Dollar Tree)
- Paperback novel ($1 at Dollar Tree – depending on the length of the book, you may need two)
- Brown and/or gray craft paint
- Glue gun & glue sticks
- Small strip of ribbon
- A few paper towels
- A few straight pins (optional)
1. Assemble your cast of characters. I felt slightly guilty about purchasing an author’s work from the Dollar Tree for the sole purpose of ripping up. I read a few pages of Loving Charity just to make sure I wasn’t about to destroy a literary classic; let me assure you that I wasn’t.
You could definitely use vintage books, magazines or sheet music for this project or even select a book off of your own bookshelf that you don’t think you’ll read again.
2. Using the paper towels, I applied the brown paint to the edges of the book. I simply squirted some paint onto the towel and wiped it on the book. I painted the brown first and then applied a bit of gray. This will give your book pages a vintage look. To be honest, two colors aren’t completely necessary, so you can use just gray or just brown if you would like.
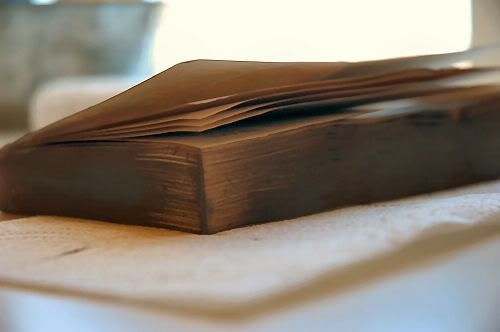
Lay the book on a clean paper towel for about 5 or 10 minutes to let the paint dry.
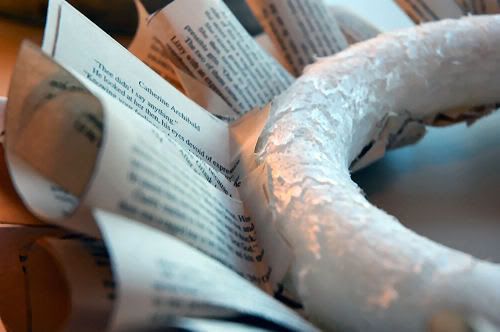
3. Cut or tear a page out of the book and roll it in a method of your choosing. I put together a video tutorial to show you some different ways to roll the page if you are interested in seeing how I did it. The main thing to remember is that you want to roll the paper and not actually fold or crease it.
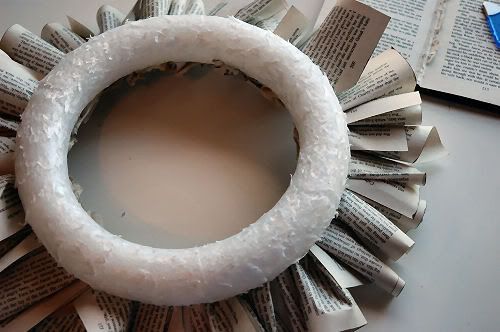
4. After rolling the page, apply some glue at the end of the roll and glue it to the wreath. Make sure that the painted edges are facing up.

You will do this layer all the way around the wreath. When you have finished the full circle, flip the wreath over. That layer will become the bottom. If it won’t lay flat, put something heavy on top of it to flatten it out for a few minutes.
5. Continue rolling pages for your wreath. You will now fold a little tab on the bottom edge and apply glue only to that tab. Work your way from the bottom of the wreath up to the top, finishing one layer before moving to the next.
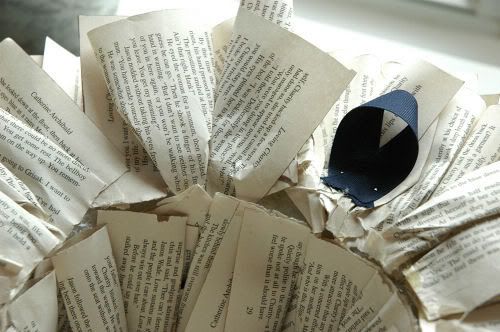
6. Once you get to the inside of the wreath, roll the paper and apply glue to the edge much like you did with the bottom layer. When you glue it on, the pages will be shorter than the wreath of the wreath. That’s okay.

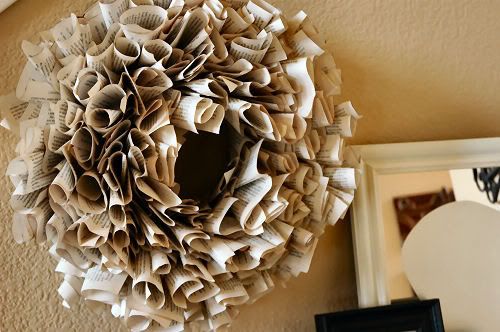
7. At this point, your wreath will be mostly done, but there will be some sections you need to fill in. It should look roughly like this.
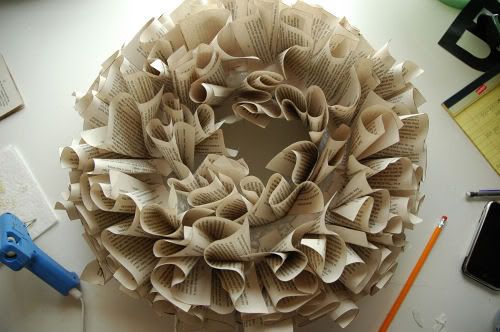
To fill in your spaces, you’ll simply roll a page, apply glue to the ends, and just stick it in the wreath. The filler pages don’t necessarily need to touch the styrofoam wreath; they can stick to the pages already glued to the wreath if need be. Use the filler pages to fill in holes and add some height and visual interest to your wreath.

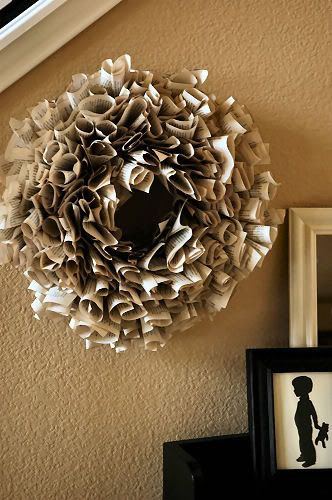
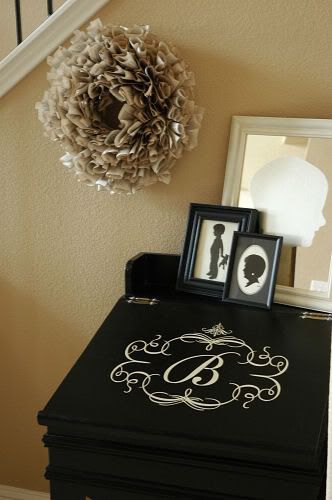
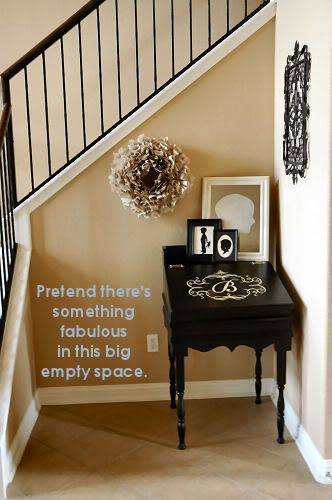
All that’s left to do now is to find a spot to hang your new creation!
No comments:
Post a Comment