Showing posts with label library displays. Show all posts

Thursday, July 4, 2013

STEAMPUNK LIBRARY DISPLAY

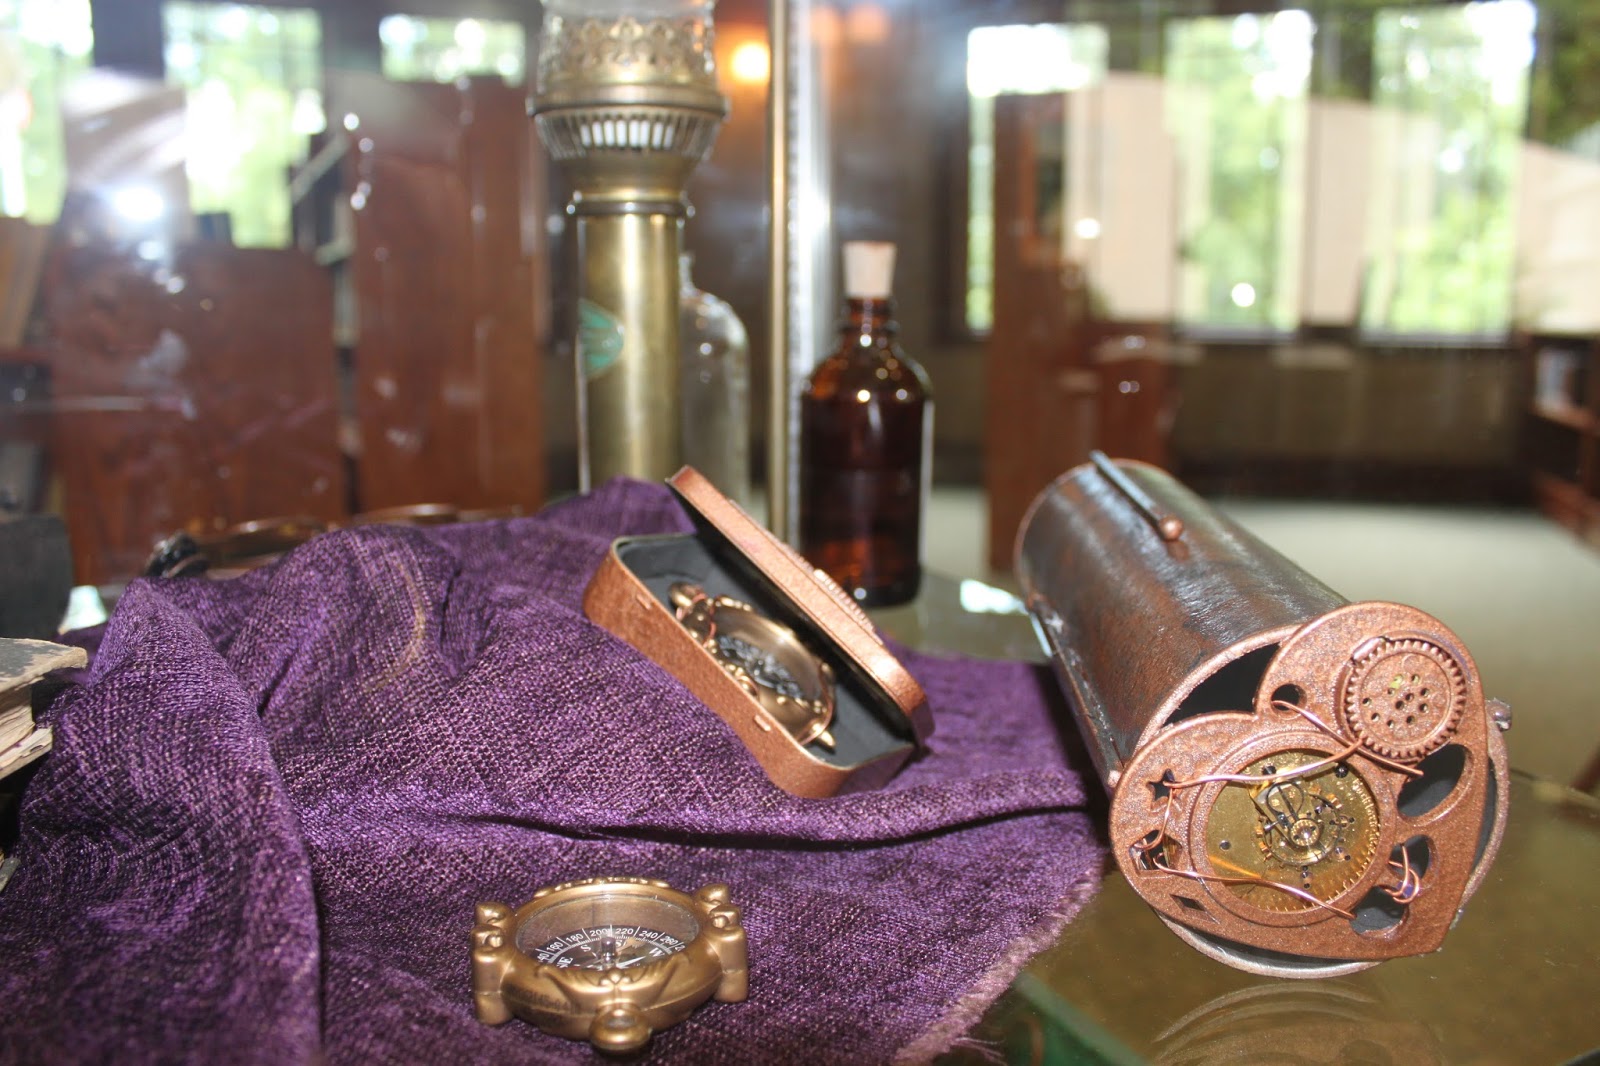
Steampunk Library display for the 2013 Young Adult Summer Reading Program theme "Beneath the Surface" at the Woodstock Public Library, Woodstock, Georgia.  The display will be up through the month of July so come in and see what Steampunk is all about.


Sunday, June 16, 2013

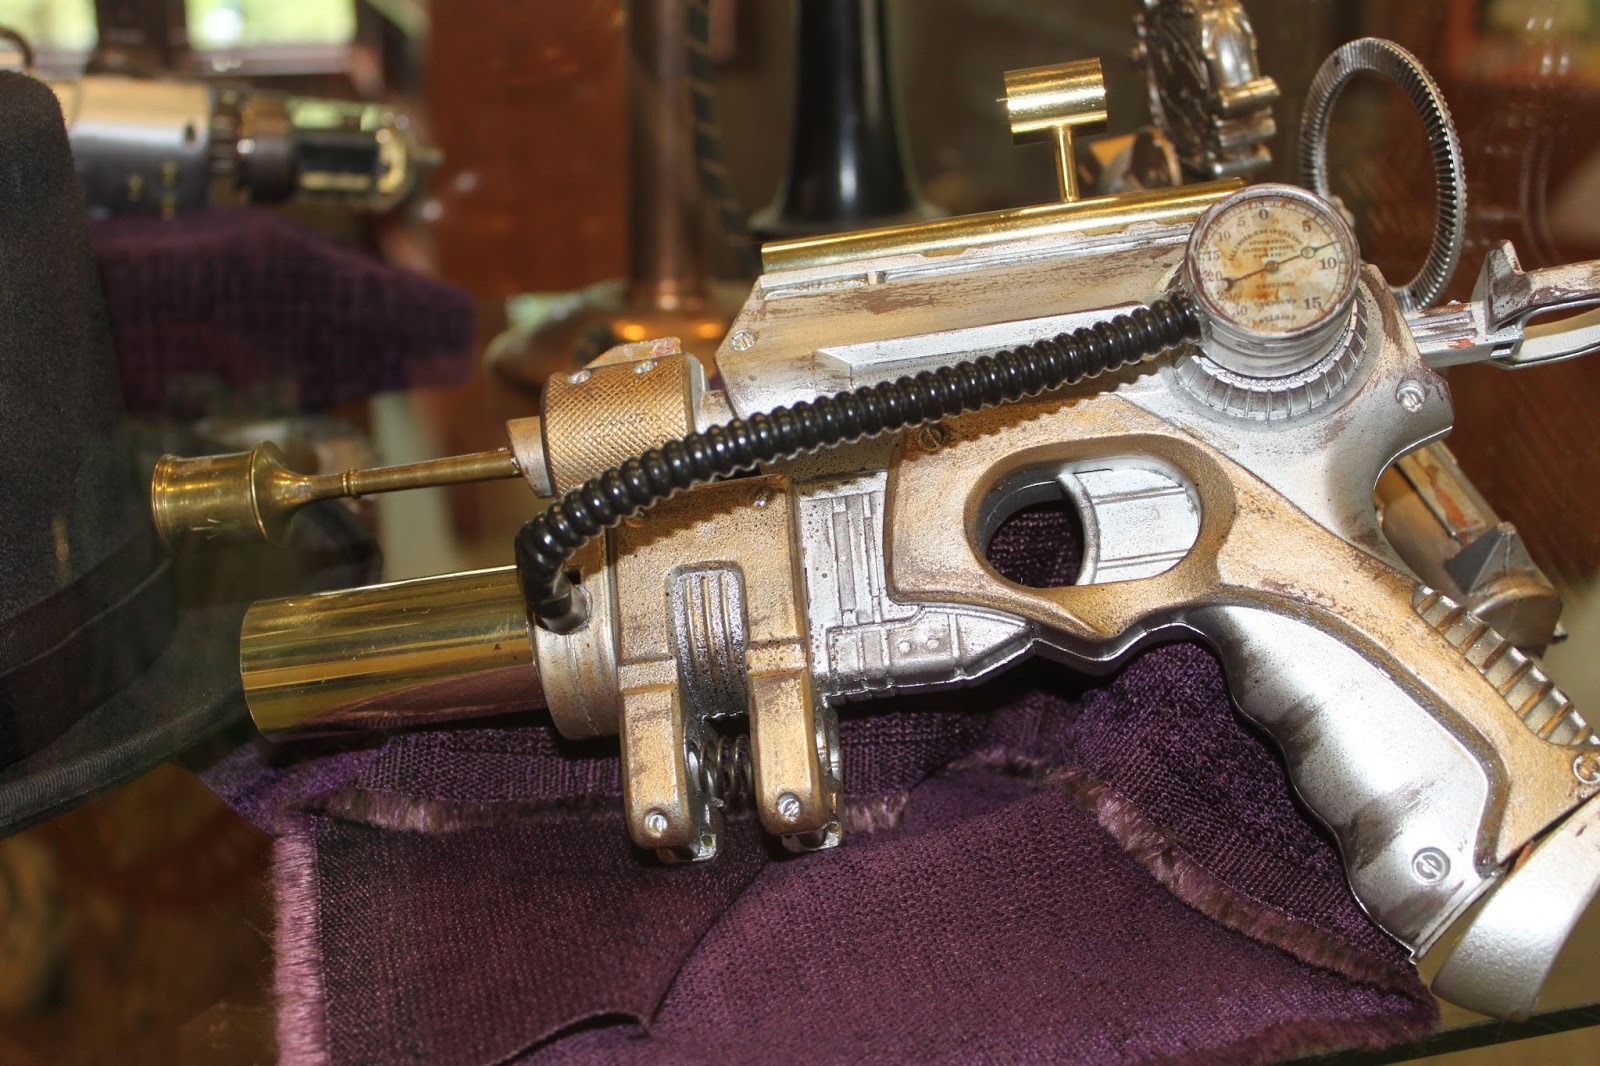
STEAMPUNK WATER PISTOL

Steampunk has become very popular especially in Adult and Young Adult fiction.  Our library's Young Adult Summer Reading Program's theme is Beneath the Surface.  I am planning a Steampunk library display for that area.  Below is a water pistol I made out of a Dollar Store water gun, curly straws, plastic bubble wands and a plastic compass from Walmart's party section.  I used Rub and Buff to get the gold and silver accents.  I'm planning on making some goggles and a few other things....so stay tuned.  Two of my co workers are also making some Steampunk articles for the display.  I will post some more photos when it is complete.  


Monday, June 10, 2013

Saturday, June 8, 2013

MEET 'LIL DIGGER

'LIL DIGGER IS WOODSTOCK PUBLIC LIBRARY'S MASCOT FOR THE SUMMER READING PROGRAM, "DIG INTO READING".  OUR CHILDREN'S LIBRARIAN AND HER HUSBAND TRANSFORMED OUR TRAIN INTO A FRONT END LOADER.  IT IS MADE OUT OF PLYWOOD, PAINTED YELLOW AND LOOKS AWESOME!  


I AM TAKING 'LIL DIGGER AROUND TOWN, TAKING PHOTOS OF HIM AT DESTINATIONS THAT THE CHILDREN WOULD BE FAMILIAR WITH, AND THEN WE WILL DISPLAY A PHOTO EVERY WEEK AND LET THE CHILDREN GUESS WHERE 'LIL DIGGER VISITED THAT WEEK.  THEY GET TO CHOOSE A LITTLE PRIZE.....A STICKER,  ERASER, ETC.  I WONDER WHERE 'LIL DIGGER WILL SHOW UP NEXT?


Tuesday, April 9, 2013

DIG INTO READING

I'm working on a "photo booth" dinosaur set for our library's summer reading program.  The theme is Dig Into Reading. I gathered a bunch of inspiration from Pinterest and composed this painting on a washing machine cardboard box.  I will cut out the ovals for the kids to put their faces through and finish painting the background.  Right now I have it taped on my wall so I can paint and stand back to look at it.  When finished, it will stand about 4 feet tall. I can't wait to see the little kids poking their heads through!!!  

Below is the finished painting.  I just need to cut out the oval openings for the kiddos to stick their heads through.  


Amie Freling Brown of  Meme Hill Studio was so nice to give me permission to copy her dinosaur head from one of her murals.  I loved that her dinosaur looked so sweet and friendly.  Check out her fabulous murals on her website here.


Saturday, March 2, 2013

REALLY BIG Paper Flowers

LIBRARY DISPLAY - SPRING INTO READING

I remember seeing some really big flowers a few years ago on a blog called House of Lars where they made huge beautiful flowers out of colored pastel paper.  These are my "budget wise" big flowers using colored butcher paper.  I made the stems out of wrapping paper rolls and used tons of hot glue.


I found some sand pails at The Dollar Store and plan to put one flower in each pail and display them on top of bookcases in the Children's area in the library.


I also remember seeing a tutorial for a rose wreath made out of old book pages.  I think it was from the Lettered Cottage.  You cut the paper into a square, round off the edges and then cut it into a spiral and  curl up the edges into a cone shape.  I just made mine on a much larger scale.


This is how the red flower started out.  I cut 8 petals, folded them into an accordion fan like pattern and then hot glued the petals together.


Tuesday, August 2, 2011

PAPER MACHE TUTORIAL


This is a paper mache piggy bank I made for a library display featuring novels about money.  Most of the materials I had at home.  I found the gold plastic coins and oversized paper money at Party City.


I started out with round balloons.  Tape them together using masking tape.  I only had painter's tape around.  I used toilet paper rolls for the legs and taped them in place.


I tear up newspapers in about 3-4" pieces and dip them into wallpaper paste.  Be sure to scrape most of the paster off of the paper before you apply to the form so it doesn't take too long to dry.  Sometimes I will dry with a hair dryer.  Keep applying pieces of paper mache all over the form.


Let the form dry between layers.  You will probably need to add 3 to 4 layers to make it sturdy.


I added a tail using a wire and wrapping newspaper around it.


The nose is made using part of a toilet paper roll.   I taped it on first, then added paper mache around it.


When the newspaper is completely dry, I paint the entire form with gesso.  This will seal the newspaper and serve as a base for your paint.


Now, start painting your precious little creature!


My finished display "MONEY MONEY MONEY" featuring all sorts of books about money.

Wednesday, June 1, 2011

ANOTHER NECKLACE

I can't get enough of these necklaces!  I took beads, string and "pirate compasses" to my library so all 11 of us could make a "Novel Destinations" necklace to promote our summer reading program.  We just hired a new employee who will start the end of the week.  I had one pirate compass left so I went ahead and made her a necklace from the "left-over" beads.  I love how it turned out and the color combination. It may just be my favorite!


Thursday, May 19, 2011

HAND CARVED STAMPS - Novel Destinations

I hand carved some "travel" stamps today to use at our library's adult summer reading program titled NOVEL DESTINATIONS.  As each patron reads a book, we stamp their passport.  I thought it would be fun to have some interesting travel stamps.  I sketch out my drawing on grid paper, cut it out and press onto the carving block.  I burnish with a bone folder which makes an exact copy of my drawing onto the carving block.  I then carve with my speedball carving tool and print.  I like to use permanent ink like StazOn.

Sunday, May 15, 2011

WE HAVE AN APP FOR THAT

Here is a display I made for our Young Adult Summer Reading Program.  It displays all of the categories that they need to fulfill for the summer reading program but displayed on a fun iPhone.  I used a black foam board, printed out app buttons and found images relating to the topics from google images.  Hope this will get the young adults' attention!


Saturday, May 14, 2011

NOVEL DESTINATIONS - LIBRARY DISPLAY

The theme of our summer reading program at the library is Novel Destinations.  We will be putting up the display tomorrow and I made a faux leather suitcase out of an old piece of brown poster board.  I distressed it, cut the top so it looks like it has an handle, added faux leather reinforced patches to the corners with brads and topstitching with marker.  I downloaded vintage travel stickers and glued them with matte medium.  All in all, I think it turned out pretty cute.